
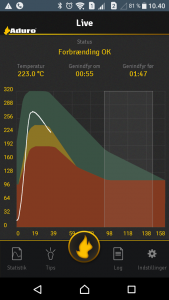
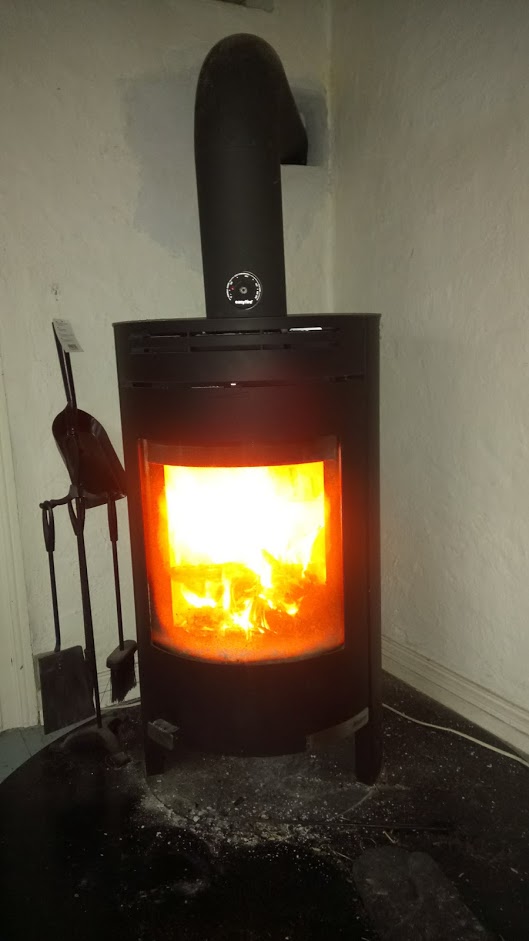
I have a fancy thermometer for my wood stove namely an Aduro Smart Response. The accompanying Android app basically shows a temperature graph, with guidelines as to whether the burning is optimal and when put in more wood. I have generally been content with the app: it is quite slow, but generally helps in more optimal burning. Recently however, the Android app has stopped working (something about connecting to a database), and this prompted me to start on a project I wanted to do for some time: get the data from the Smart Response unit into a database under my control.
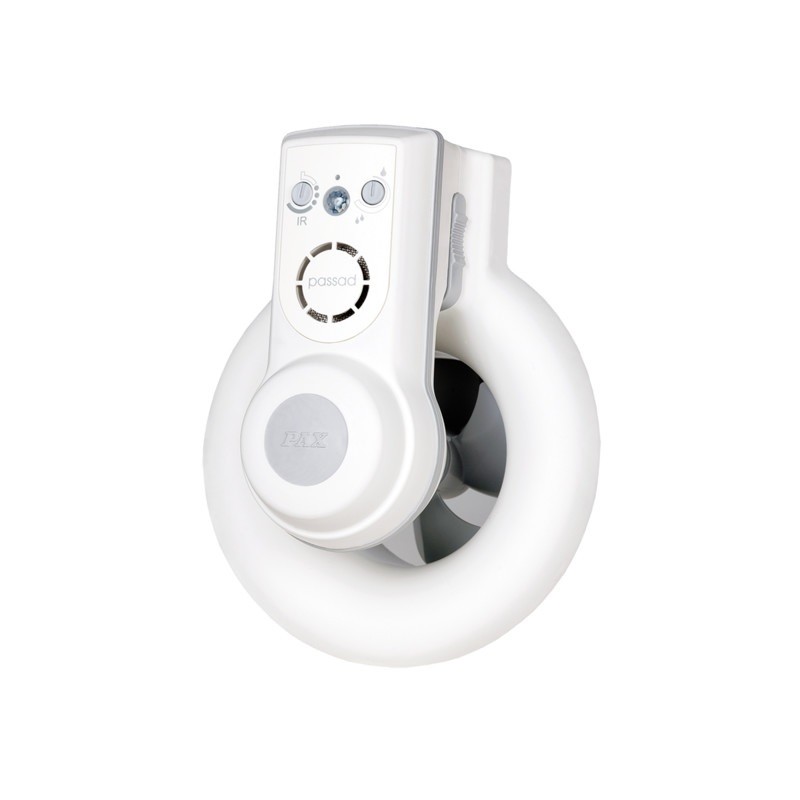
The Smart Response unit uses Bluetooth Low Energy, and is powered by 3xAAA batteries (my batteries lasted for a year before replacing). Connecting to a BLE unit from Linux is quite easy, at least from the command line:
$ sudo hcitool lescan

LE Scan ...

B4:99:4C:25:12:B2 (unknown)

B4:99:4C:25:12:B2 Aduro demo

$ sudo hcitool lecc B4:99:4C:25:12:B2

Connection handle 3585

$ sudo gatttool -b B4:99:4C:25:12:B2 --interactive

[B4:99:4C:25:12:B2][LE]> connect

Attempting to connect to B4:99:4C:25:12:B2

Connection successful
hcitool is used to create a connection/pairing. gatttool is used to query the device interactively. Thereafter the device can be explored, to see which “handles” are available:
[B4:99:4C:25:12:B2][LE]> primary

attr handle: 0x0001, end grp handle: 0x000b uuid: 00001800-0000-1000-8000-00805f9b34fb #Generic Access

attr handle: 0x000c, end grp handle: 0x000f uuid: 00001801-0000-1000-8000-00805f9b34fb #Generic Attribute

attr handle: 0x0010, end grp handle: 0x0022 uuid: 0000180a-0000-1000-8000-00805f9b34fb #Device Information

attr handle: 0x0023, end grp handle: 0x0027 uuid: 0000180f-0000-1000-8000-00805f9b34fb #Battery

attr handle: 0x0028, end grp handle: 0xffff uuid: 0000ffb0-0000-1000-8000-00805f9b34fb # ???
The annotations on the right are mine; the UUIDs can be looked up under GATT services on the Bluetooth website.
For example, the battery status can be queried somewhere in the Battery handle group from 0x0023 to 0x0027:
[B4:99:4C:25:12:B2][LE]> characteristics 0x0023 0x0027

handle: 0x0024, char properties: 0x12, char value handle: 0x0025, uuid: 00002a19-0000-1000-8000-00805f9b34fb

[B4:99:4C:25:12:B2][LE]> char-read-hnd 0x0025

Characteristic value/descriptor: 5d # Battery level 0x5d = 93%
Now, the only unknown primary is from handle 0x0028 and higher. Let’s query those:
[B4:99:4C:25:12:B2][LE]> characteristics 0x0028 0xffff

handle: 0x0029, char properties: 0x0a, char value handle: 0x002a, uuid: 0000ffb6-0000-1000-8000-00805f9b34fb # 0x0a = R/W

handle: 0x002c, char properties: 0x10, char value handle: 0x002d, uuid: 0000ffb7-0000-1000-8000-00805f9b34fb # 0x10 = notify

handle: 0x0030, char properties: 0x10, char value handle: 0x0031, uuid: 0000ffb3-0000-1000-8000-00805f9b34fb # 0x10 = notify

handle: 0x0033, char properties: 0x02, char value handle: 0x0034, uuid: 0000ffb4-0000-1000-8000-00805f9b34fb # 0x02 = Read

handle: 0x0035, char properties: 0x08, char value handle: 0x0036, uuid: 0000ffb8-0000-1000-8000-00805f9b34fb # 0x08 = Write

handle: 0x0037, char properties: 0x08, char value handle: 0x0038, uuid: 0000ffb9-0000-1000-8000-00805f9b34fb # 0x08 = Write

handle: 0x0039, char properties: 0x0a, char value handle: 0x003a, uuid: 0000ffb5-0000-1000-8000-00805f9b34fb # 0x0a = R/W

handle: 0x003b, char properties: 0x08, char value handle: 0x003c, uuid: 0000ffb2-0000-1000-8000-00805f9b34fb # 0x08 = Write
The annotations on the right are again mine: they specify the char properties as looked up under “Characteristic Declaration”. Querying the char value handles gives some uninteresting values (0x00 bytes, etc.), but also some interesting ones:
[B4:99:4C:25:12:B2][LE]> char-read-hnd 0x002d

Characteristic value/descriptor: c4 01 03 01 fd 00

[B4:99:4C:25:12:B2][LE]> char-read-hnd 0x003a

Characteristic value/descriptor: 44 65 6d 6f 20 20 20 00 # 'Demo \x00'

[B4:99:4C:25:12:B2][LE]> char-read-hnd 0x0034

Characteristic value/descriptor: c3 01 ba 01 c4 01 27 00 c2 01 d1 01
Querying a bit outside also gives some very interesting strings:
[B4:99:4C:25:12:B2][LE]> char-read-hnd 0x002b

Characteristic value/descriptor: 41 64 75 72 6f 20 47 65 74 4c 6f 67 # 'Aduro GetLog'

[B4:99:4C:25:12:B2][LE]> char-read-hnd 0x002f

Characteristic value/descriptor: 41 64 75 72 6f 20 4c 69 76 65 56 61 6c 75 65 # 'Aduro LiveValue'
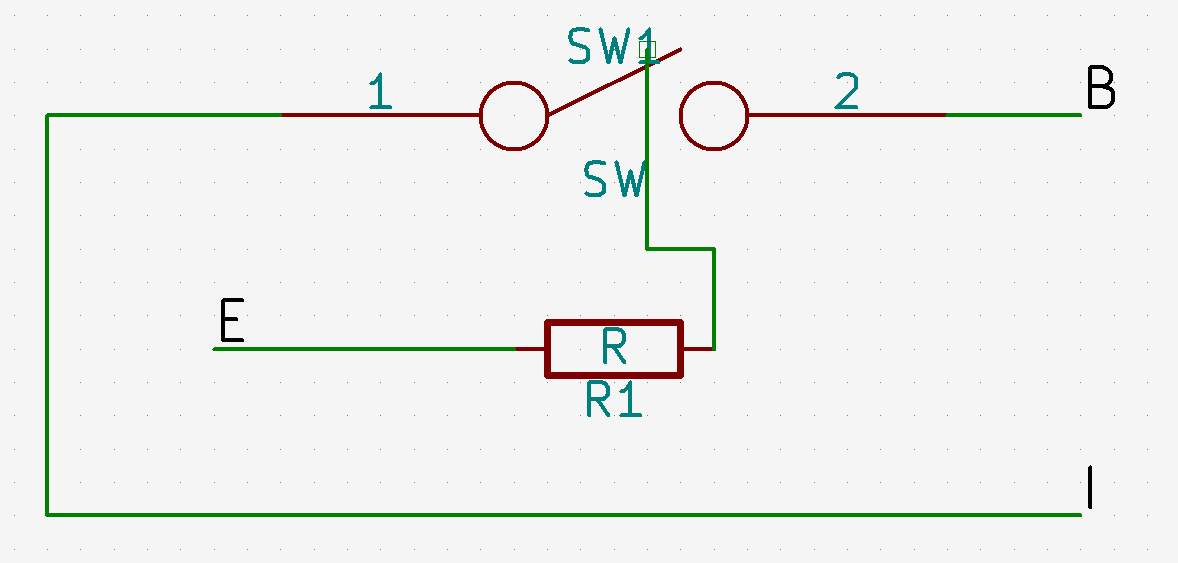
At this point I tried to look for values that changed, and also manipulating the device (temperature, playing with the damper that is connected with a microswitch). It turns out that 0x002d and 0x0034 changes values, but 0x002d changes the most. Is there a pattern?
Characteristic value/descriptor: c4 01 08 01 fb 00

[B4:99:4C:25:12:B2][LE]> char-read-hnd 0x002d

Characteristic value/descriptor: c4 01 1f 01 f3 00

[B4:99:4C:25:12:B2][LE]> char-read-hnd 0x002d

Characteristic value/descriptor: c4 01 3c 01 ec 00

[B4:99:4C:25:12:B2][LE]> char-read-hnd 0x002d

Characteristic value/descriptor: c4 01 5c 01 e2 00

[B4:99:4C:25:12:B2][LE]> char-read-hnd 0x002d

Characteristic value/descriptor: c4 01 9f 01 c3 00

[B4:99:4C:25:12:B2][LE]> char-read-hnd 0x002d

Characteristic value/descriptor: c4 01 0f 02 9d 00

#counting UP DOWN
Something is counting up, while something else seems to be counting down; this was while the temperature was cooling down. As 0x002d allows for notify, we can even ask for notifications by writing 0x0100 to 0x002d + 1:
[B4:99:4C:25:12:B2][LE]> char-write-cmd 0x002e 0100

Notification handle = 0x002d value: c5 01 43 00 2a 01

Notification handle = 0x002d value: c5 01 44 00 2a 01

Notification handle = 0x002d value: c5 01 45 00 2b 01

Notification handle = 0x002d value: c5 01 46 00 2c 01

...

Notification handle = 0x002d value: c5 01 f0 01 94 00

Notification handle = 0x002d value: c5 01 f1 01 94 00

Notification handle = 0x002d value: c6 01 00 00 93 00

Notification handle = 0x002d value: c6 01 01 00 93 00
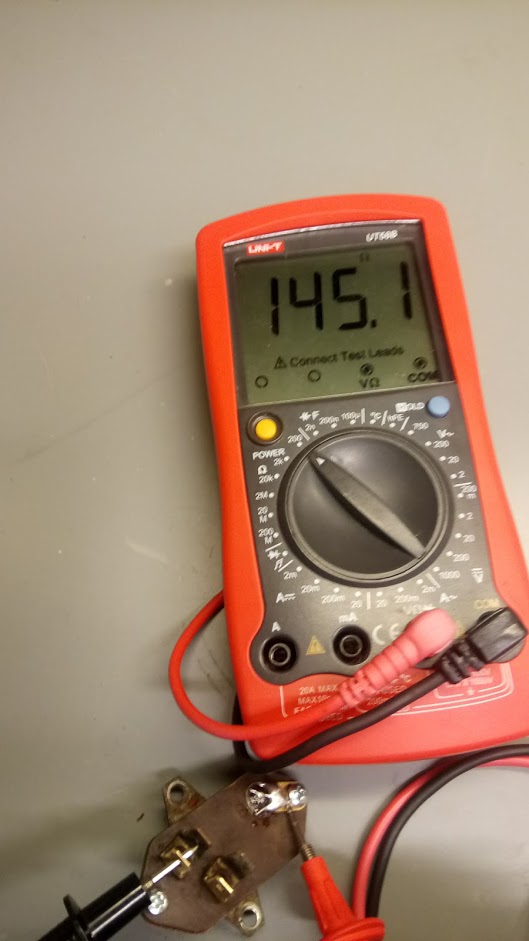
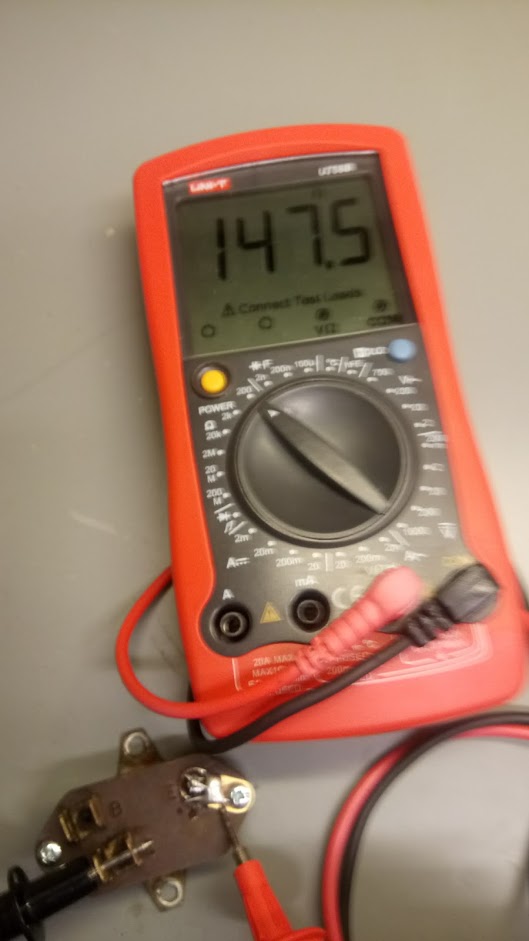
In the end of the series I manipulated the damper. Trying to identify the temperature, the last 2 characters seems the most promising: values from 0x93 (147 C) to 0x012c (300 C) seem reasonable from what I have seen previously. The middle 2 characters always increase by 1, so it is probably a datapoint counter. The first 2 characters seems to increase by using the damper.
This was implemented in a small Python script, using the Gattlib, pyAduroSmart.py.
I hooked this into my home monitoring system (more on that in a later blog post), and now have a nice graph of the number of firings, and the temperature:


17 okt
0 Comments