
Home automation – input knapper
Jeg har igennem længere tid arbejdet med at lave home automation af lyset. Det hele startede med en arduino uno med ethernet shield, som så styrede nogle trådløse stikkontakter fra Harald Nyborg (link). Som udelukkende kunne styres via hjemmeside på arduinoen. Da jeg så ville have nogle flere funktioner skiftede jeg over til Openhab, som er lavet til home automation, hvor der er en app til smartphone.
Men så smart det er med en app osv. så er der steder i dagligdagen hvor det er besværligt at man skal finde telefonen frem for at kunne tænde lyset.
Så derfor købte jeg en Xiaomi gateway med tilhørende zigbee trykknapper.
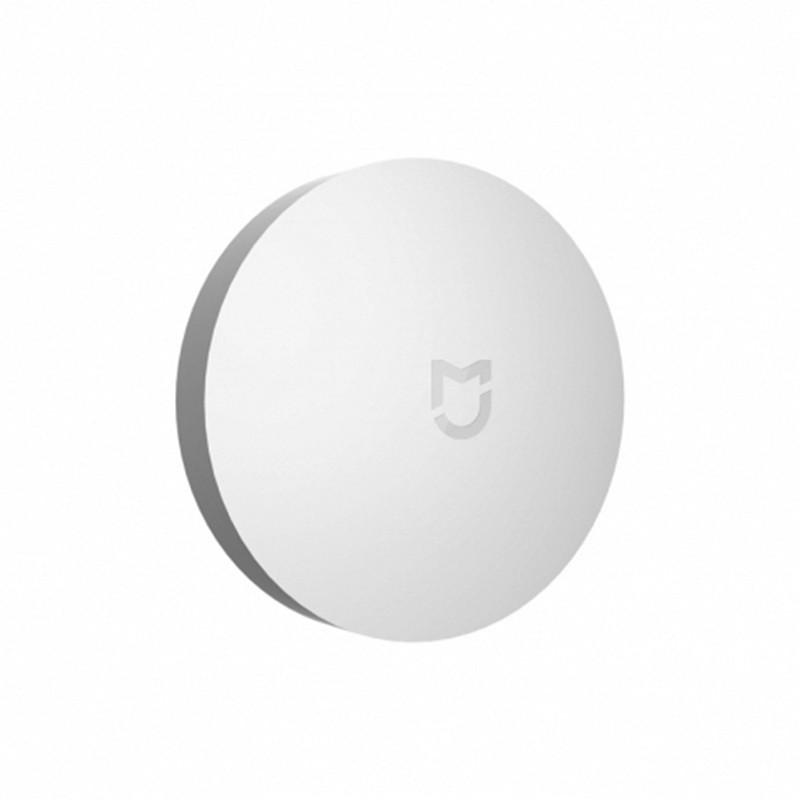
Deres enkelt tryk med 3 funktioner (kort tryk, dobbelt tryk, langt tryk) og deres dobbelt tryk med 3 funktioner (venstre tryk, højre tryk, venstre+højre tryk) men jeg var ikke helt tilfreds med dem, da de fylder en del i forhold til antal af trykfunktioner. Så det skulle jeg havde fundet/lavet en smartere løsning på.
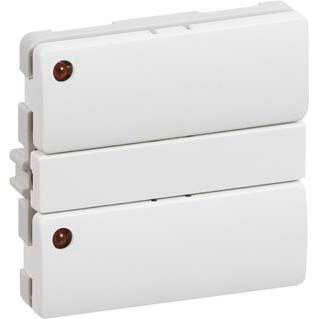
Jeg kiggede derfor efter noget der gerne skulle kunne erstatte afbryderen. Derfor kiggede jeg på hvordan LK’s svagstrømstryk til Fuga var lavet, og om det var muligt at bruge den, hvor elektronikken så blev stoppet ind i dåsen.
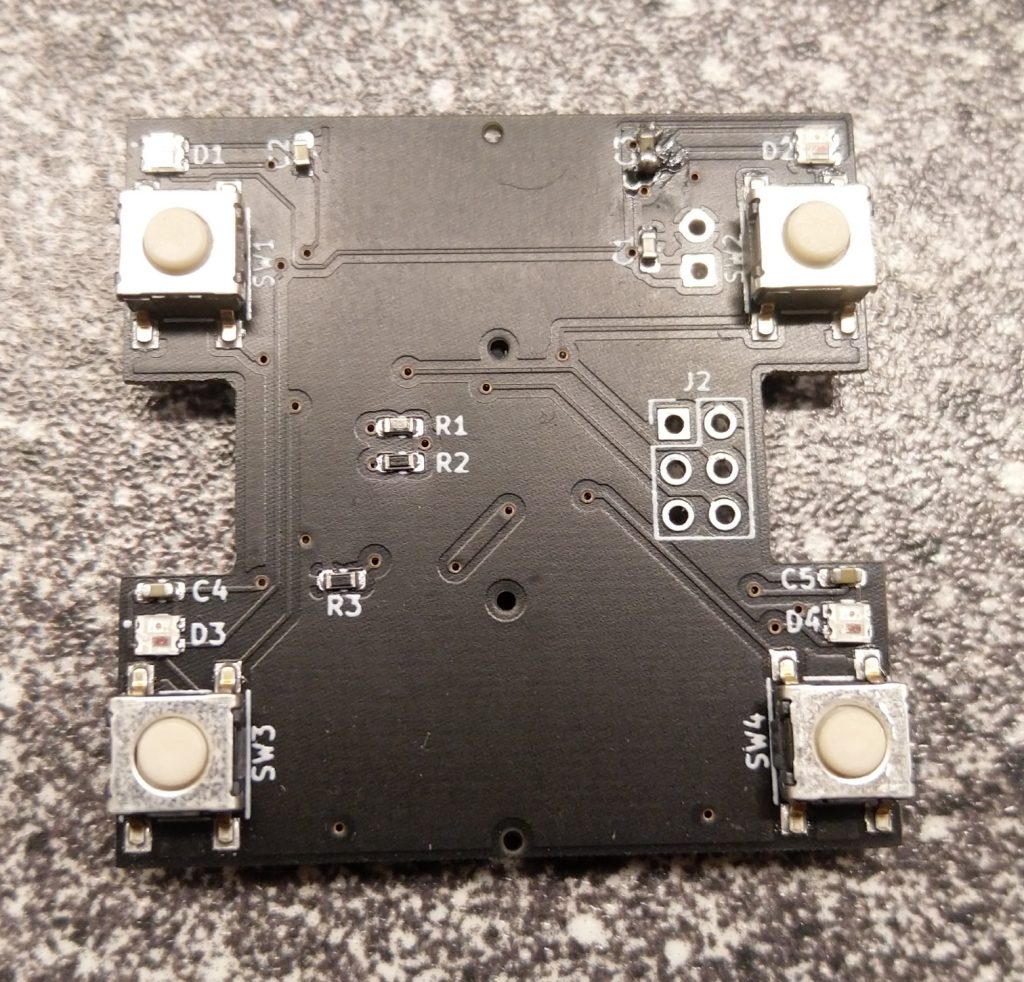
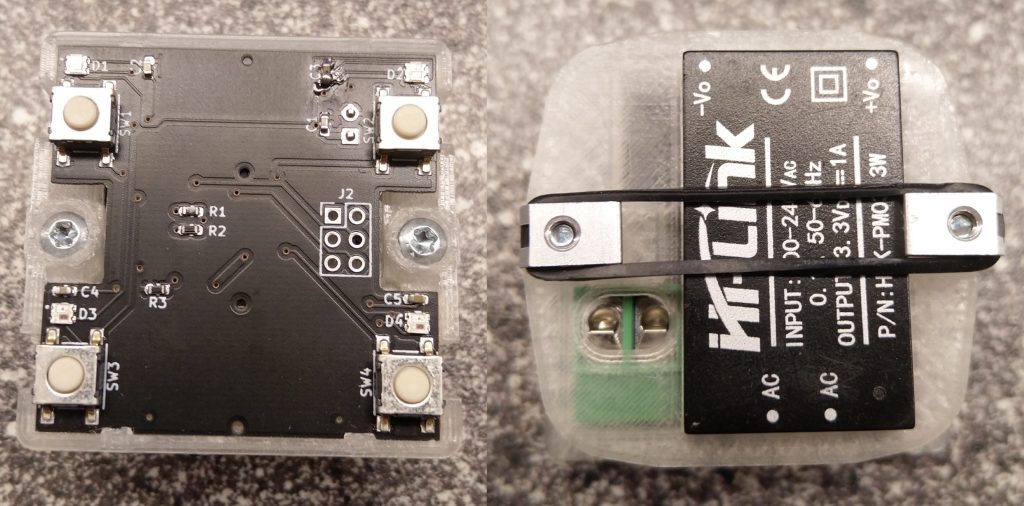
Men det viste sig så at det ville være svært at få plads til + der var kun diode til de 2 af knapperne hvor jeg gerne ville have til alle 4. Så derfor begyndte jeg at kigge på at lave min egen version af svagstrømstrykket, hvor jeg fik målt op hvor stort det måtte være, hvor knapperne skulle sidde, hvor dioderne skulle sidde, samt et par styrehuller, så tangenten til LK’s svagstrømstryk også passer til min.
Den oprindelige plan var at bruge nogle 3 mm dioder, men kort før jeg skulle til at bestille PCB opdagede jeg at der netop var kommet en ny udgave af den digitale RGB lysdiode WS2812B, nemlig i en meget mindre pakke (2020 i stedet for 5050, dvs at den er 2×2 mm mod standard-dioden på 5×5 mm). Så de blev skiftet ud til den lille RGB diode.
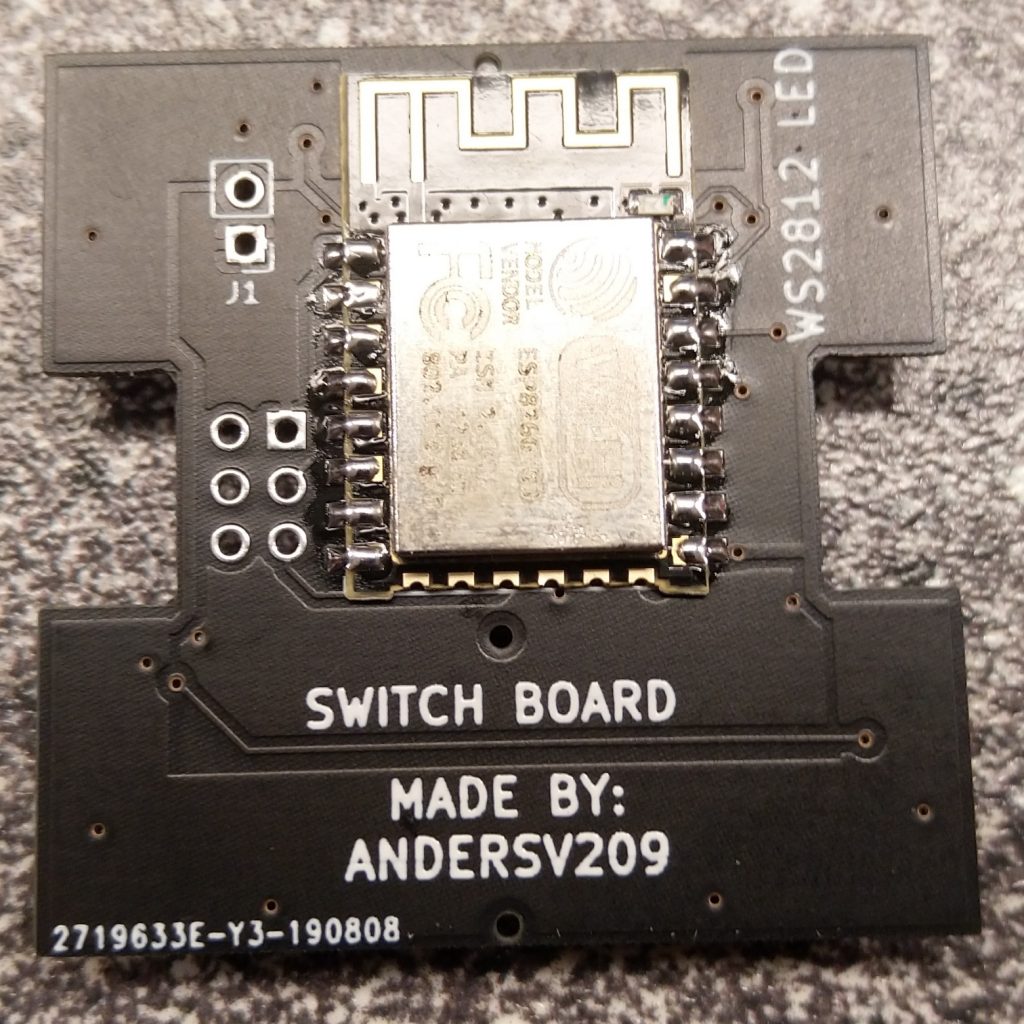
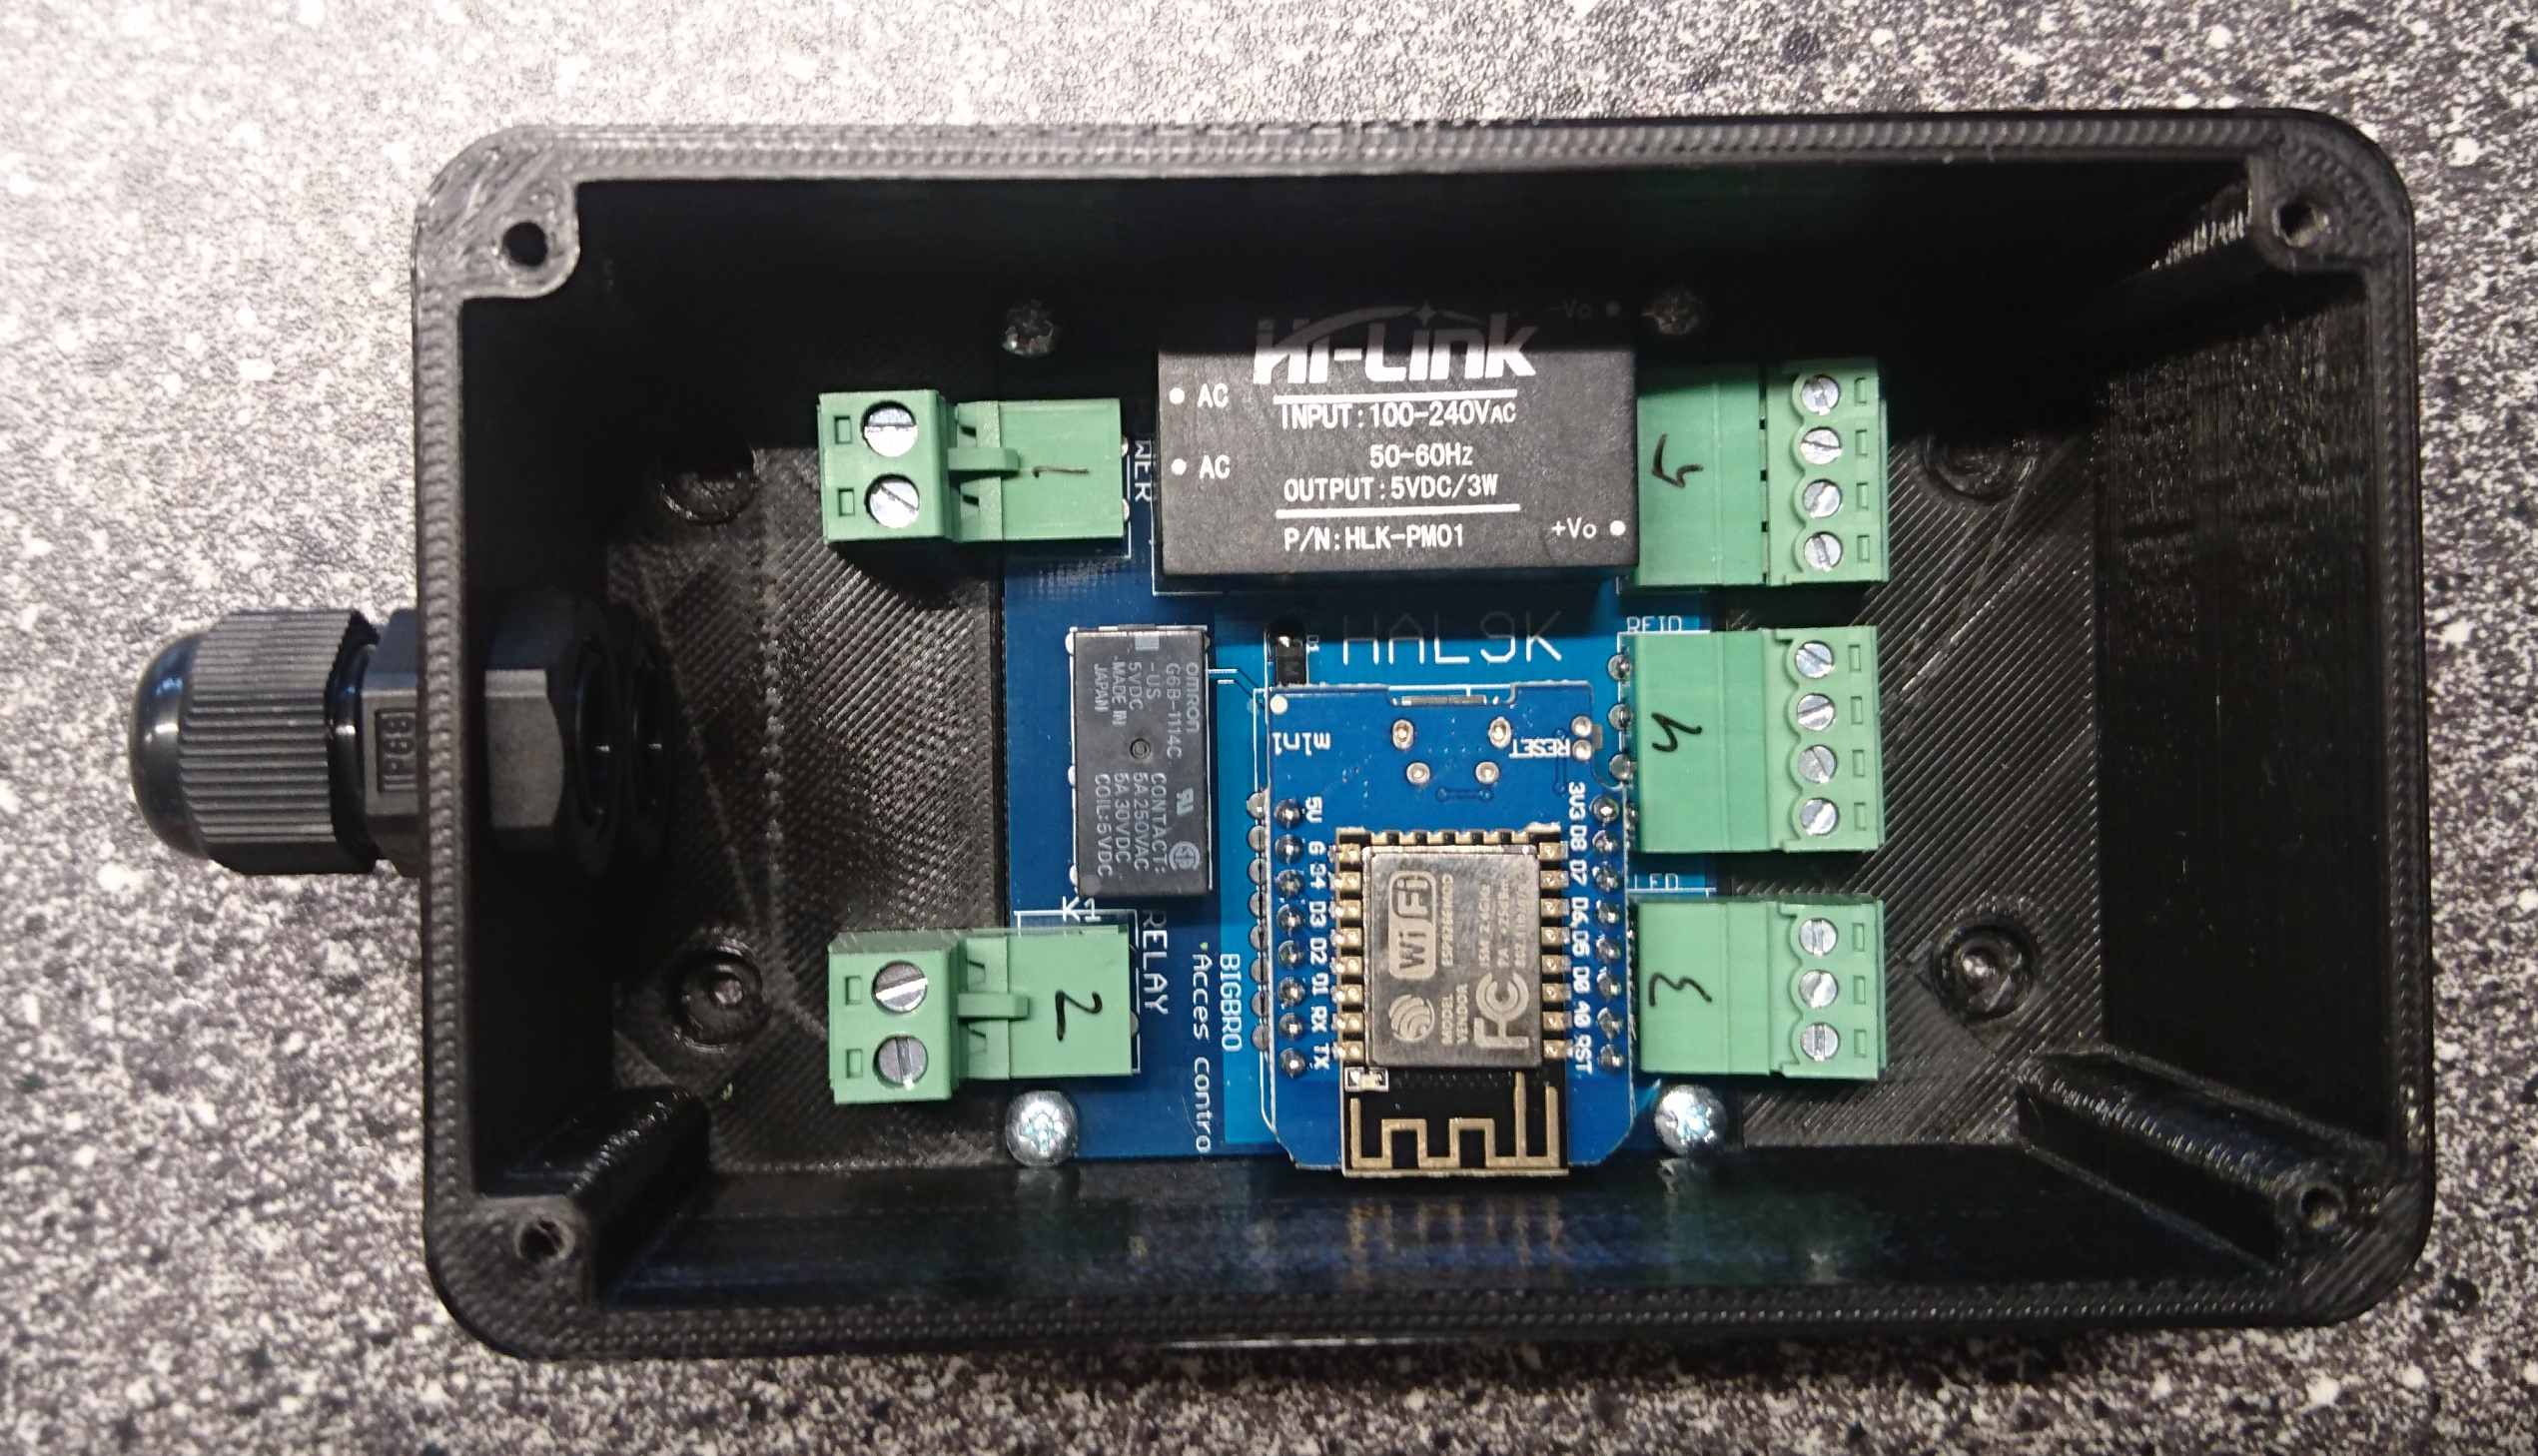
Da jeg ikke ville til at ændre helt vildt i el-installationen, valgte jeg at sætte en esp8266 microcontroller med indbygget wifi på bagsiden af printet som læser knapperne samt opdaterer dioderne.
Da jeg ikke er interesseret i at skulle skifte batterier hele tiden, skulle jeg have fundet en strømforsyning som skulle være PCB monterbar og passe ind i en Fuga dåse, der kiggede jeg straks på nogle fra Hi-link som jeg har brugt tidligere i andre projekter (i databladet står der at de er både UL og CE godkendte). De kunne lige nøjagtigt være der.
Efter som at der var ved at være styr på elektronikken, så skulle der også laves noget så det kunne gøres fast og passe i en Fuga ramme. Så var det i gang med at måle op (jeg tog udgangspunkt i hullet i Fuga rammen og en Fuga PIR sensor). Jeg havde exporteret PCB layoutet fra kicad som 3D model, så det kunne laves omkring den.
Det blev hurtigt til flere versioner, som alle blev test printet på 3D-printeren for at se hvordan det passede i virkeligheden.
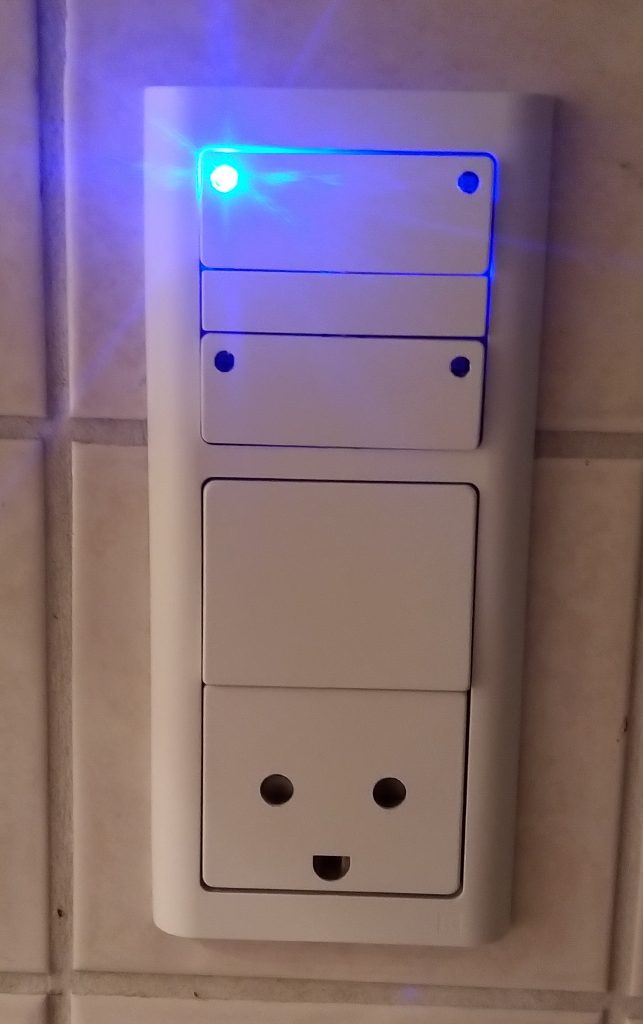
Da jeg endelig havde et PCB og 3D-print jeg var tilpas med så blev der bestilt stumper hjem. Da det hele var kommet hjem fik jeg samlet den første.
Efter de første test var jeg meget tilfreds med den, så blev resten af de første samlet, og de begynder så småt at blive sat op derhjemme, som jeg får den programmeret til.
Hvert tryk står mig i ca 200 kr.
Jeg havde en demo med til Mini Maker Faire i århus, hvor der var flere der viste interesse i dem, så derfor valgte jeg at lave dette lille skriv omkring projektet.
Hvis du er interesseret i at få fat i nogle af dem så send mig en mail på andersv209 (a) hotmail.com med titlen “Fuga tryk esp model”. Når der er til mindst en 50 stykker vil jeg sætte bestilling i gang.
PS. der gøres opmærksomt på at de ikke er godkendt til brug i fast installation og derfor anvendes på eget ansvar. Da der rodes i fast installation skal de monteres af en elektriker.
Af Anders Vestergaard
AndersV209


")
19 dec
Kommentarer lukket til Home automation – input knapper