Torsten har postuleret at man kan smage forskel på gær og at økologisk gær nu engang smager bedst. Men kan det nu passe? Jesper og Lars tager forsker-kitlerne på og undersøger sagen i HAL9k’s laboratorie-køkken med blindtest med hackerspacets medlemmer som testkaniner. Hvem vinder gærkrigen? Konventionelt gær, tørgær eller økologisk gær? Se mere i videoen!
Nikolai er i færd med at montere en elmotor på sin ladcykel i HAL9k. Der er lidt der skal mases og bukkes lidt for at det kan lykkedes, men gåpåmodet er der cyklen venter med stor forventning på at blive gjort højteknologisk.
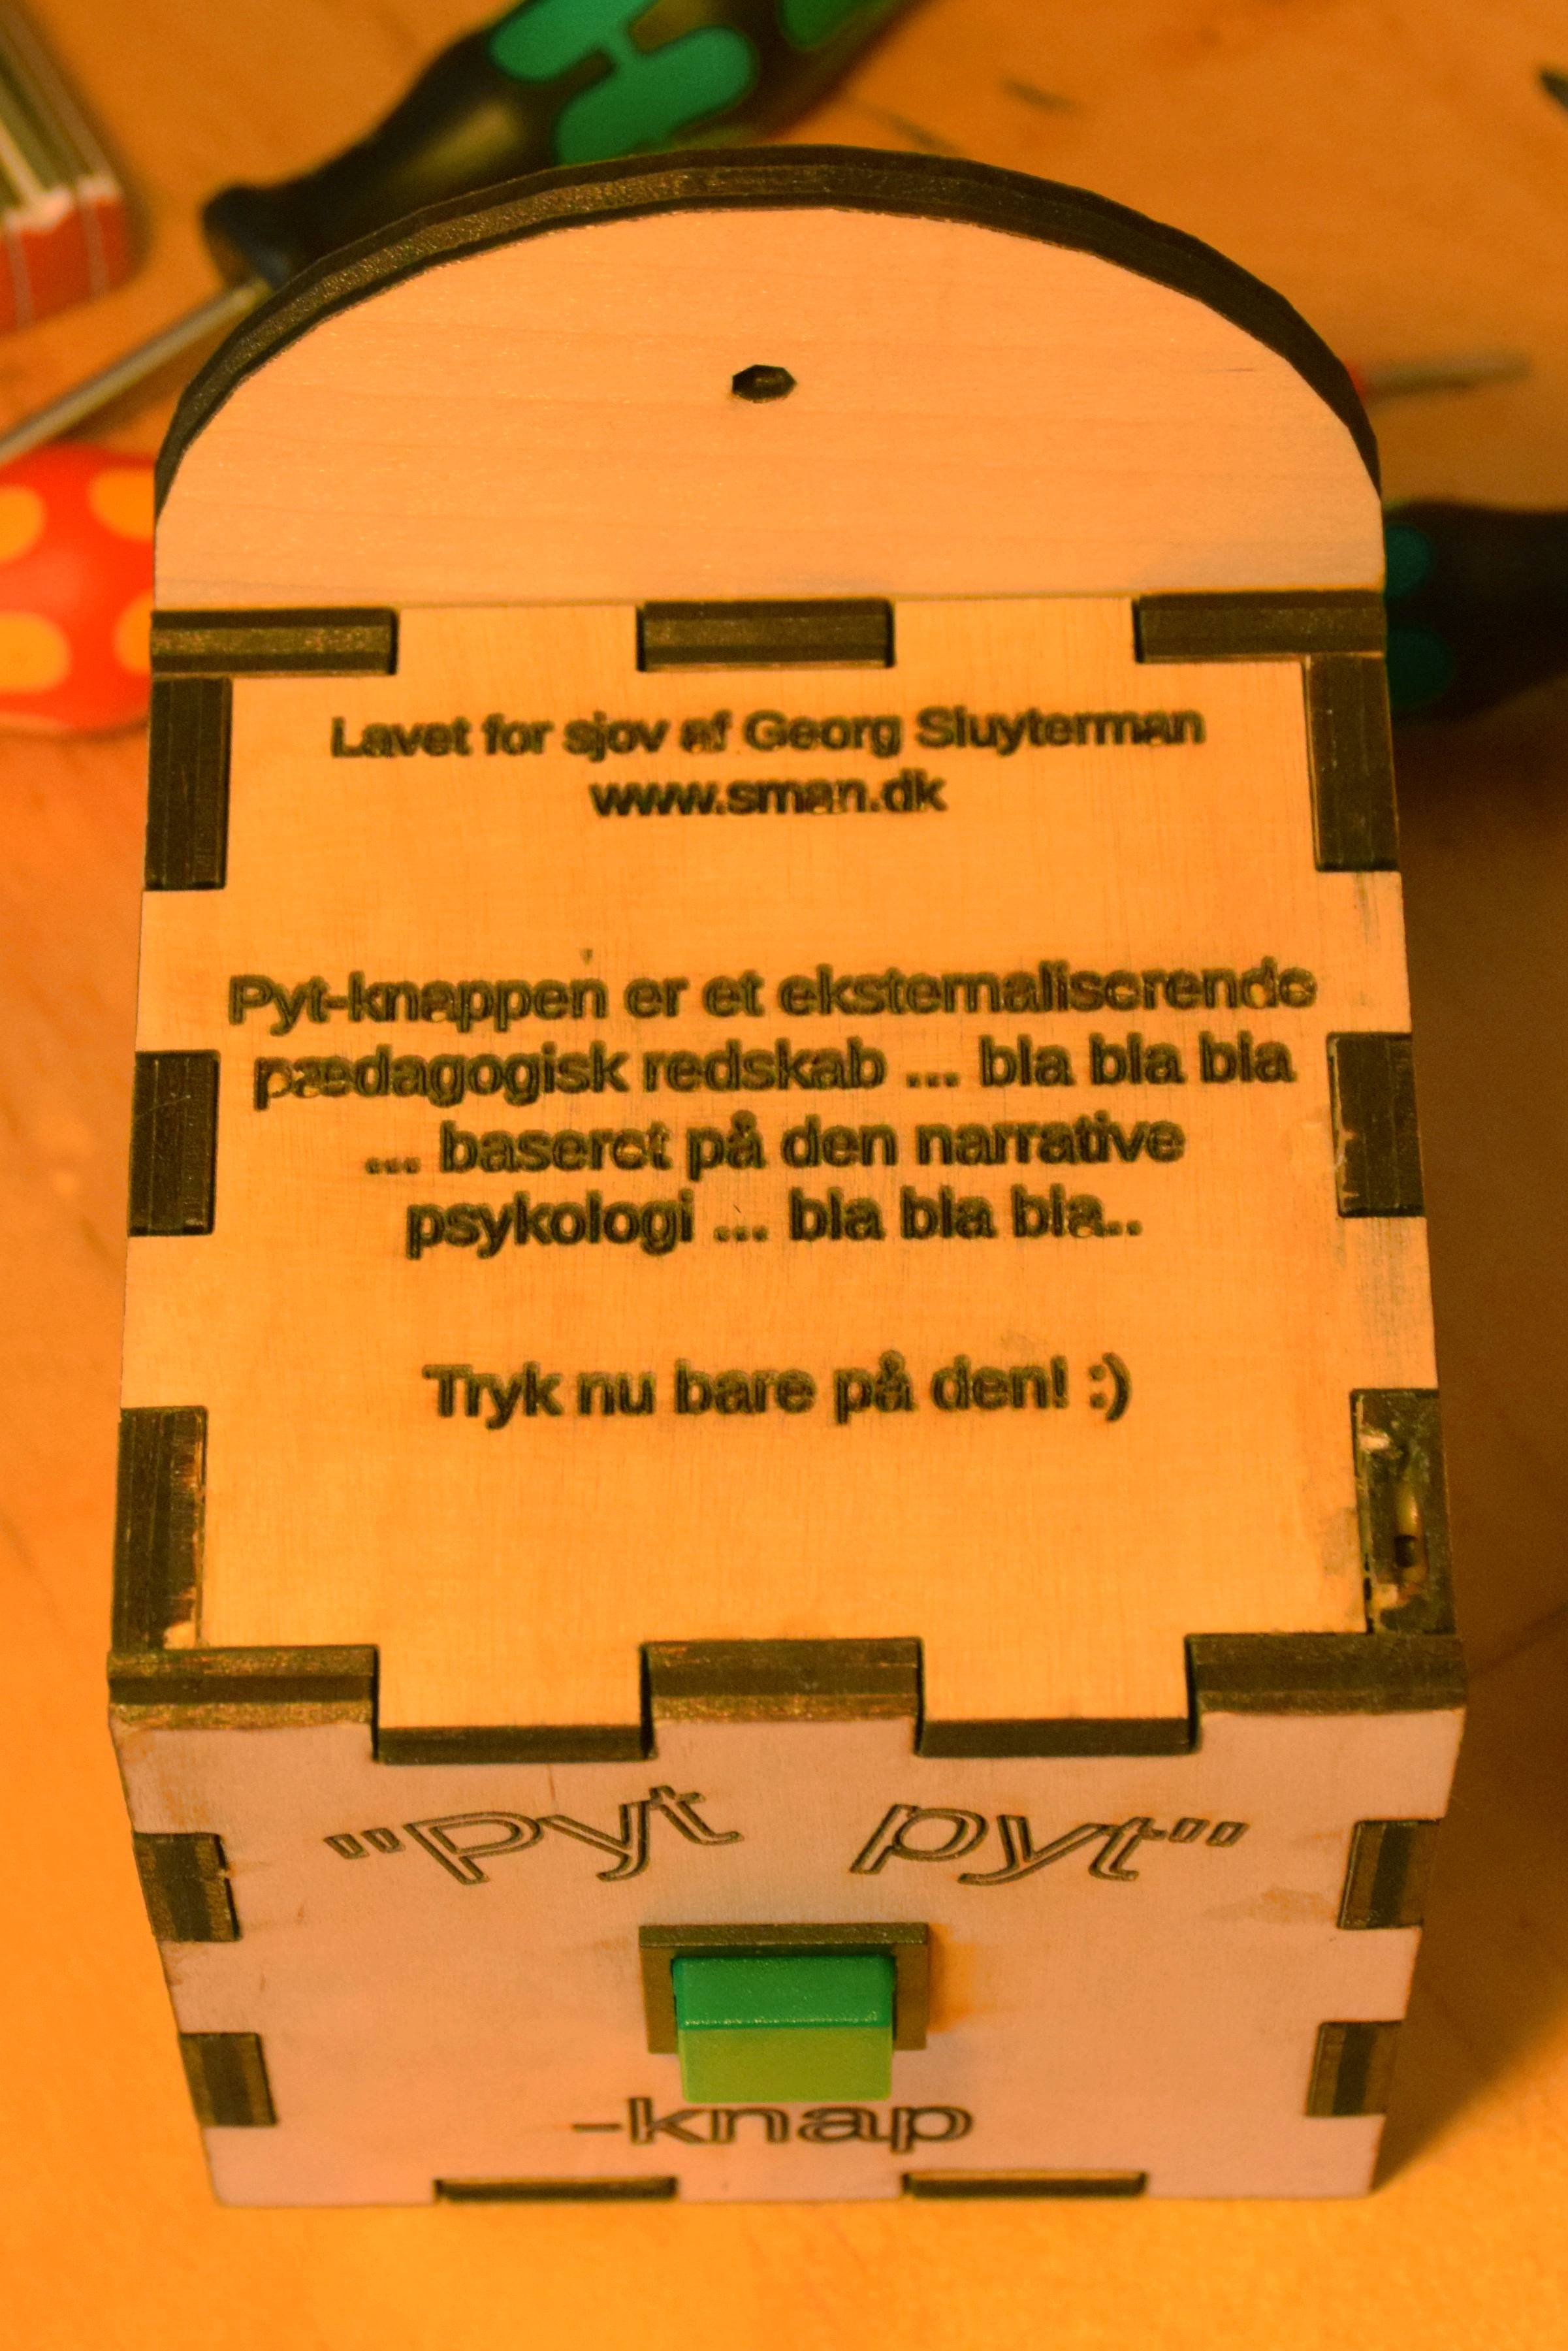
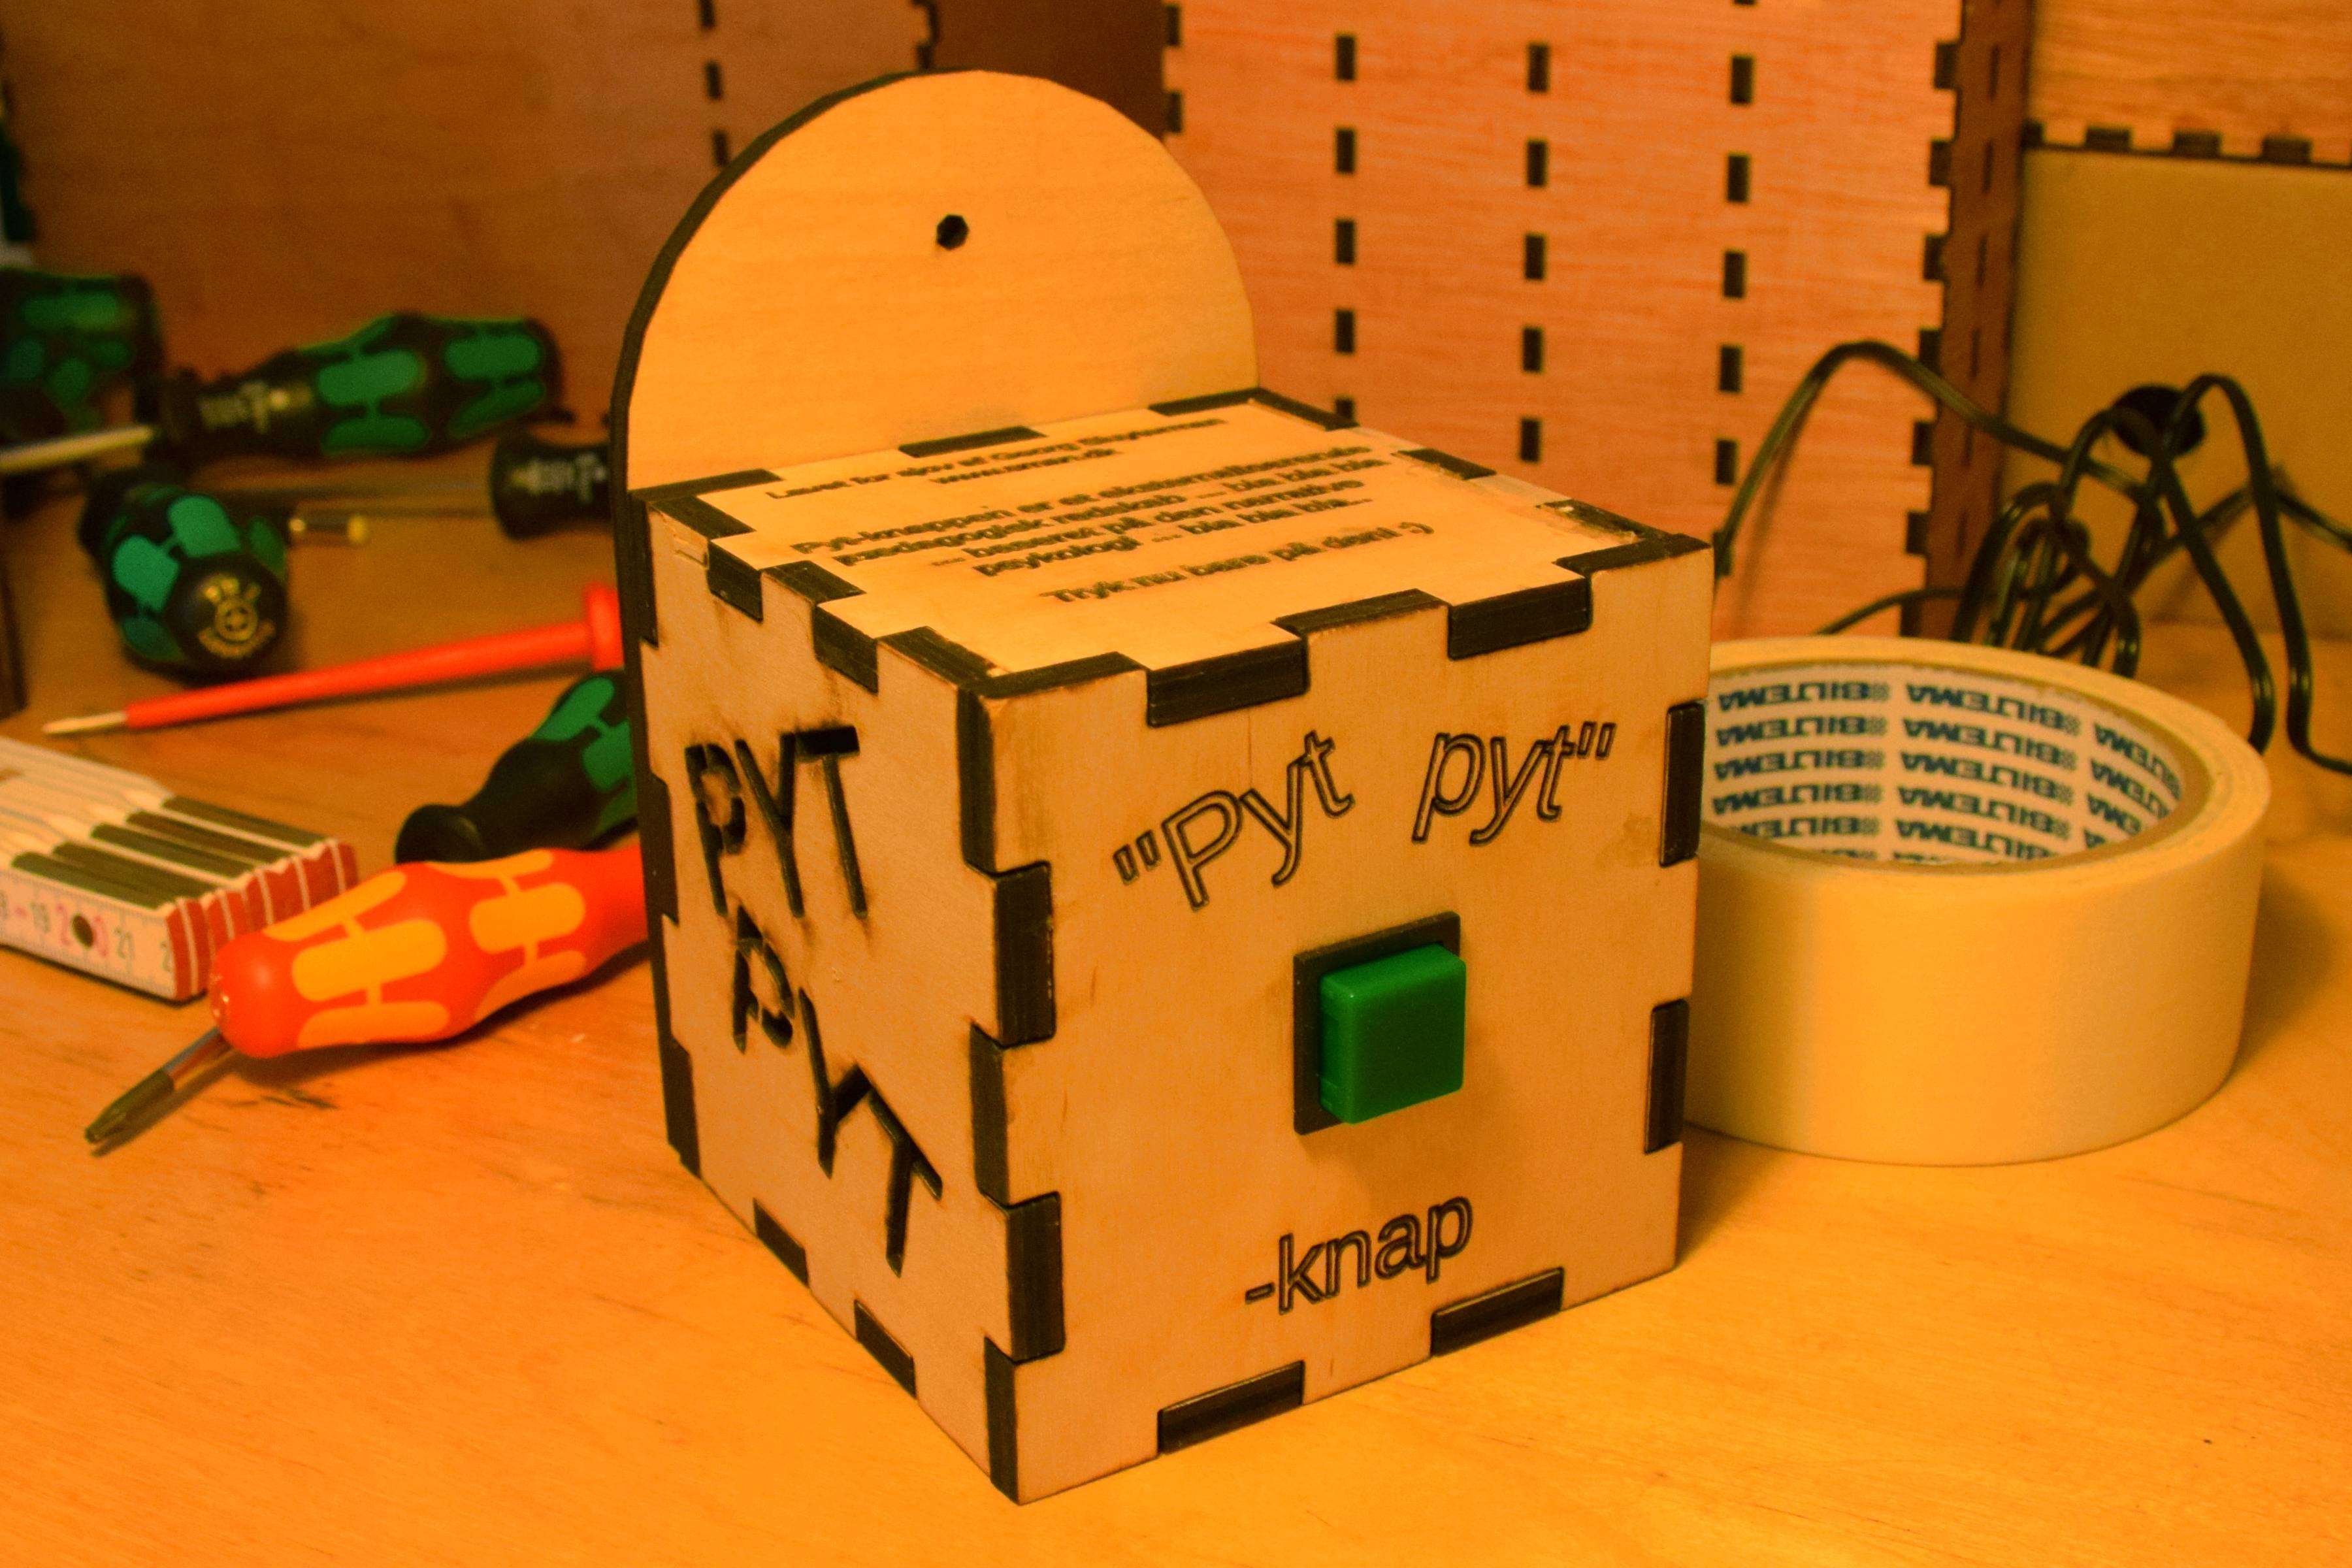
A woman working in a kindergarten told me about a button they had for the kids. Whenever there was some dispute between some kids, an adult could ask them to press the button, in order to easen the kids ability to act by the meaning of the danish word “pyt” (meaning something along the words “never mind”).
However it turned out turned out the button was not a button after all but just a sticker! I thought the idea behind the so called “button” and the usage of it was fun, so I decided to make one for the kindergarten.
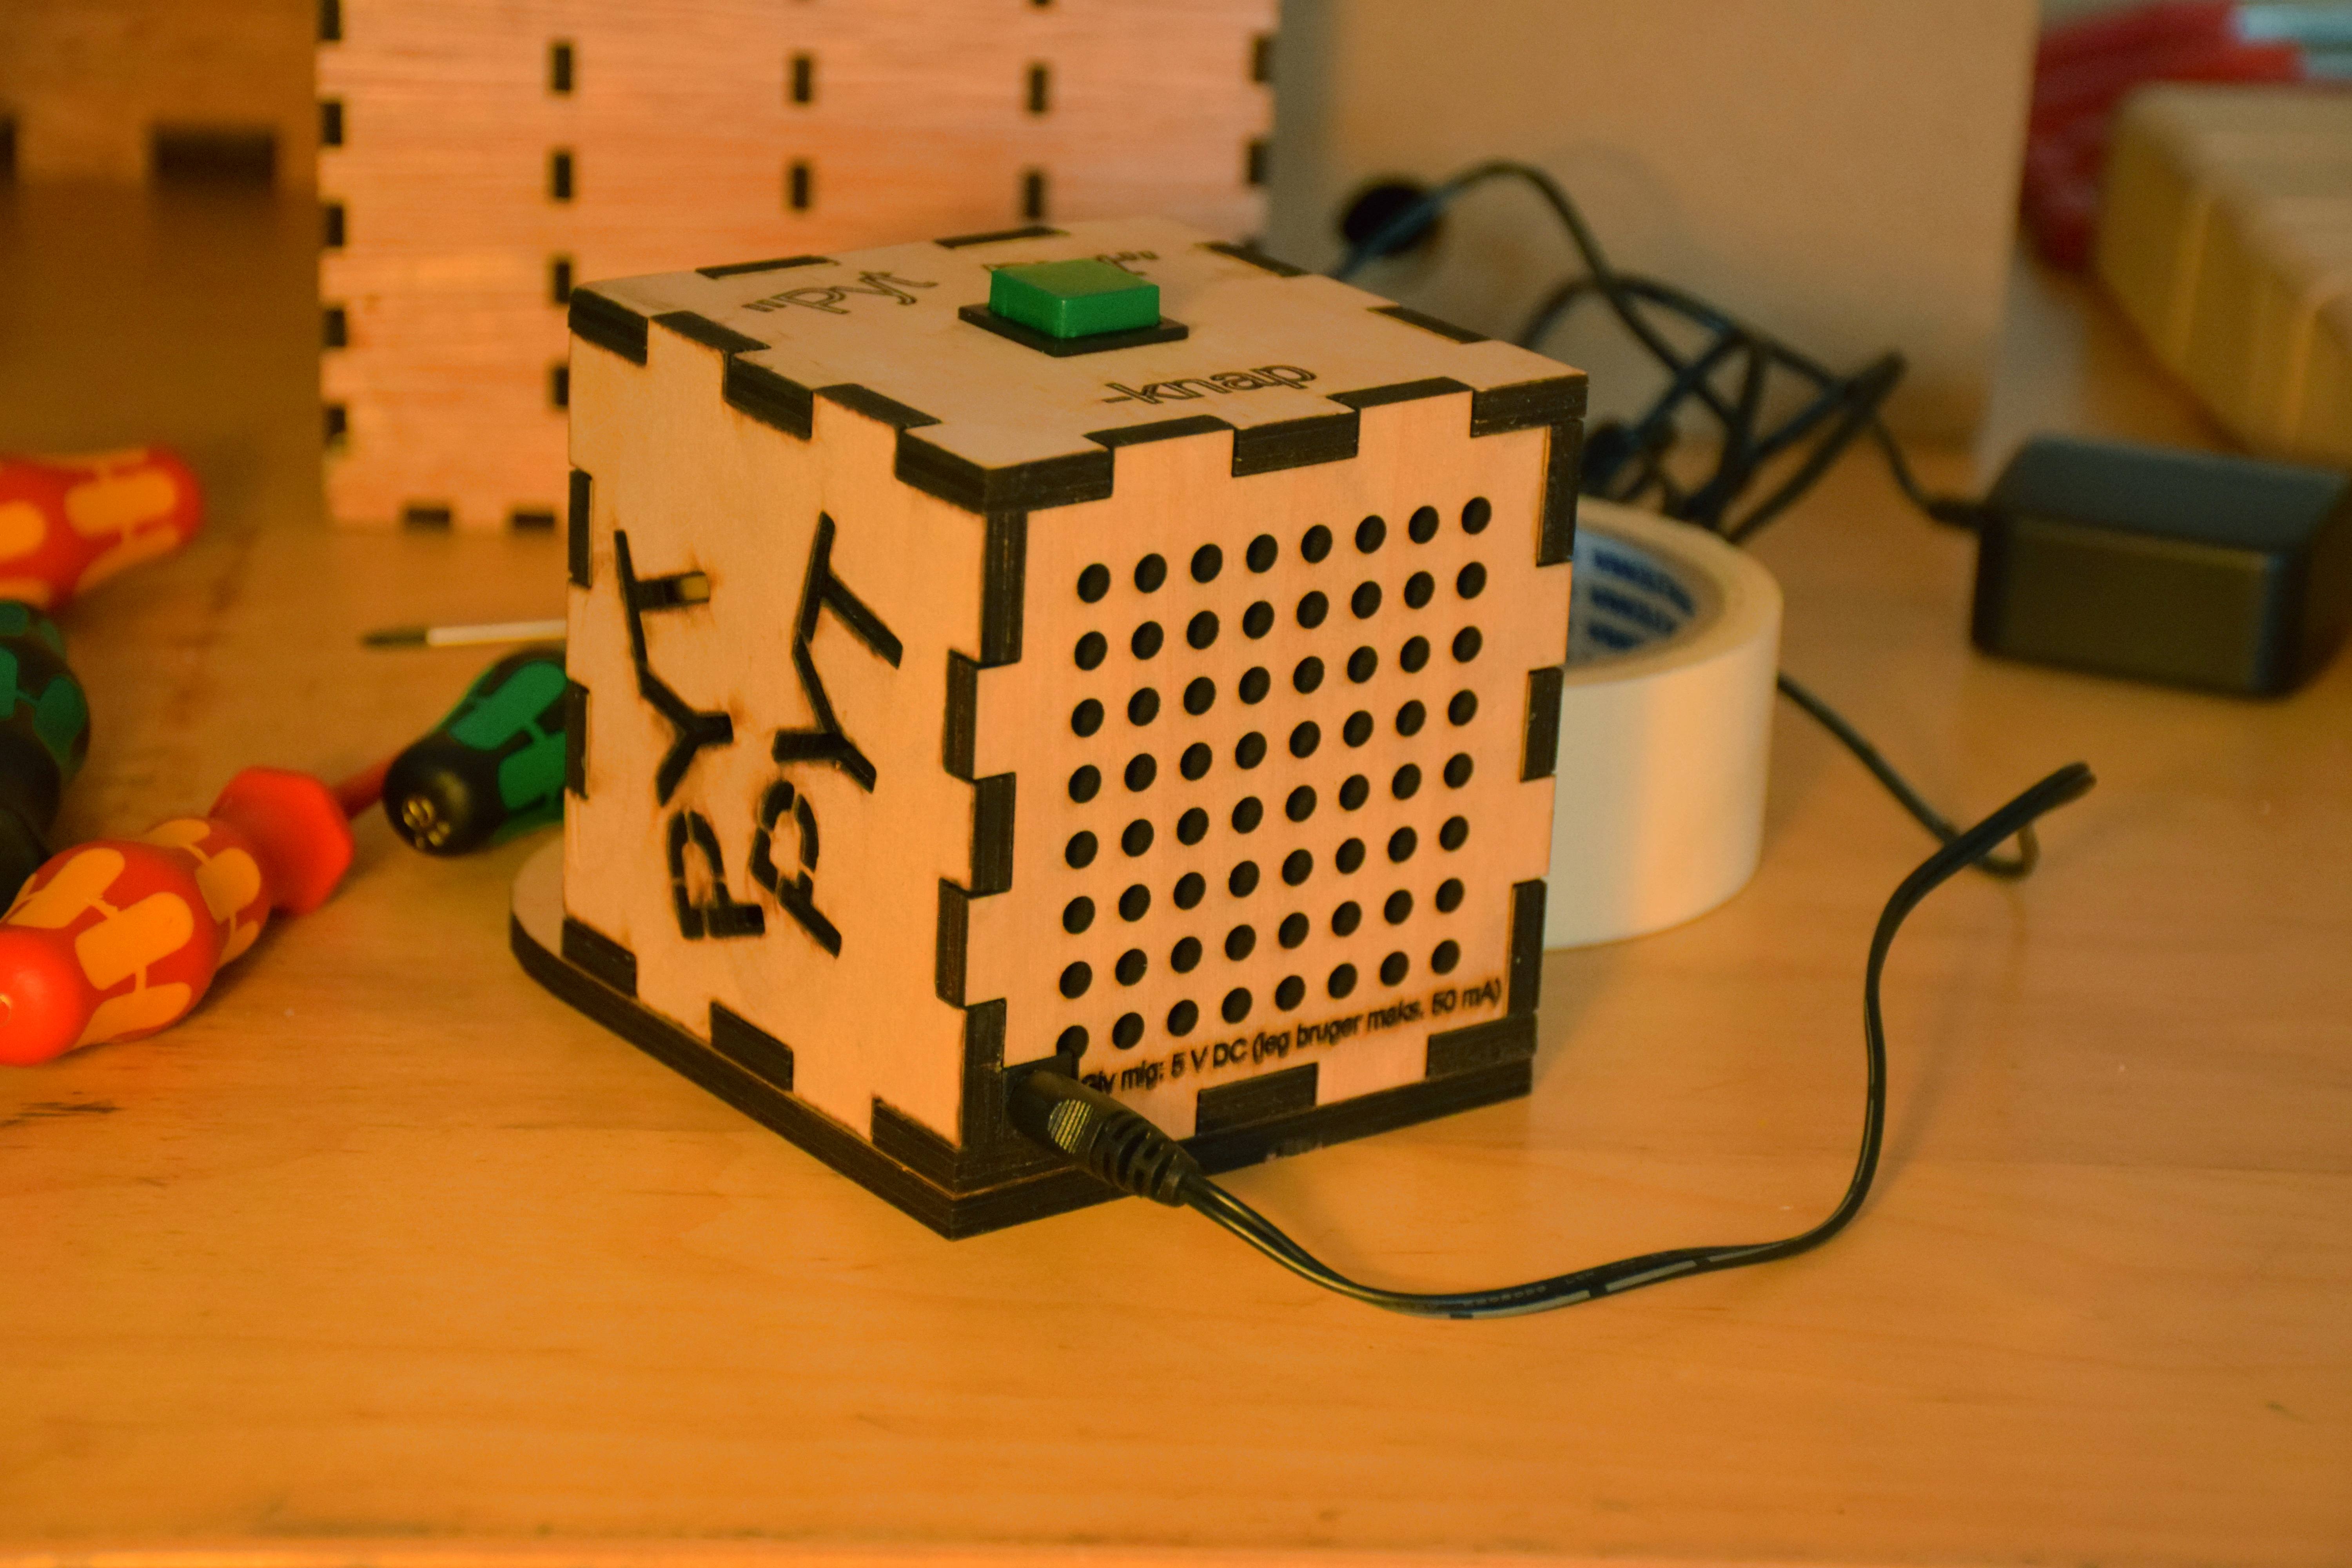
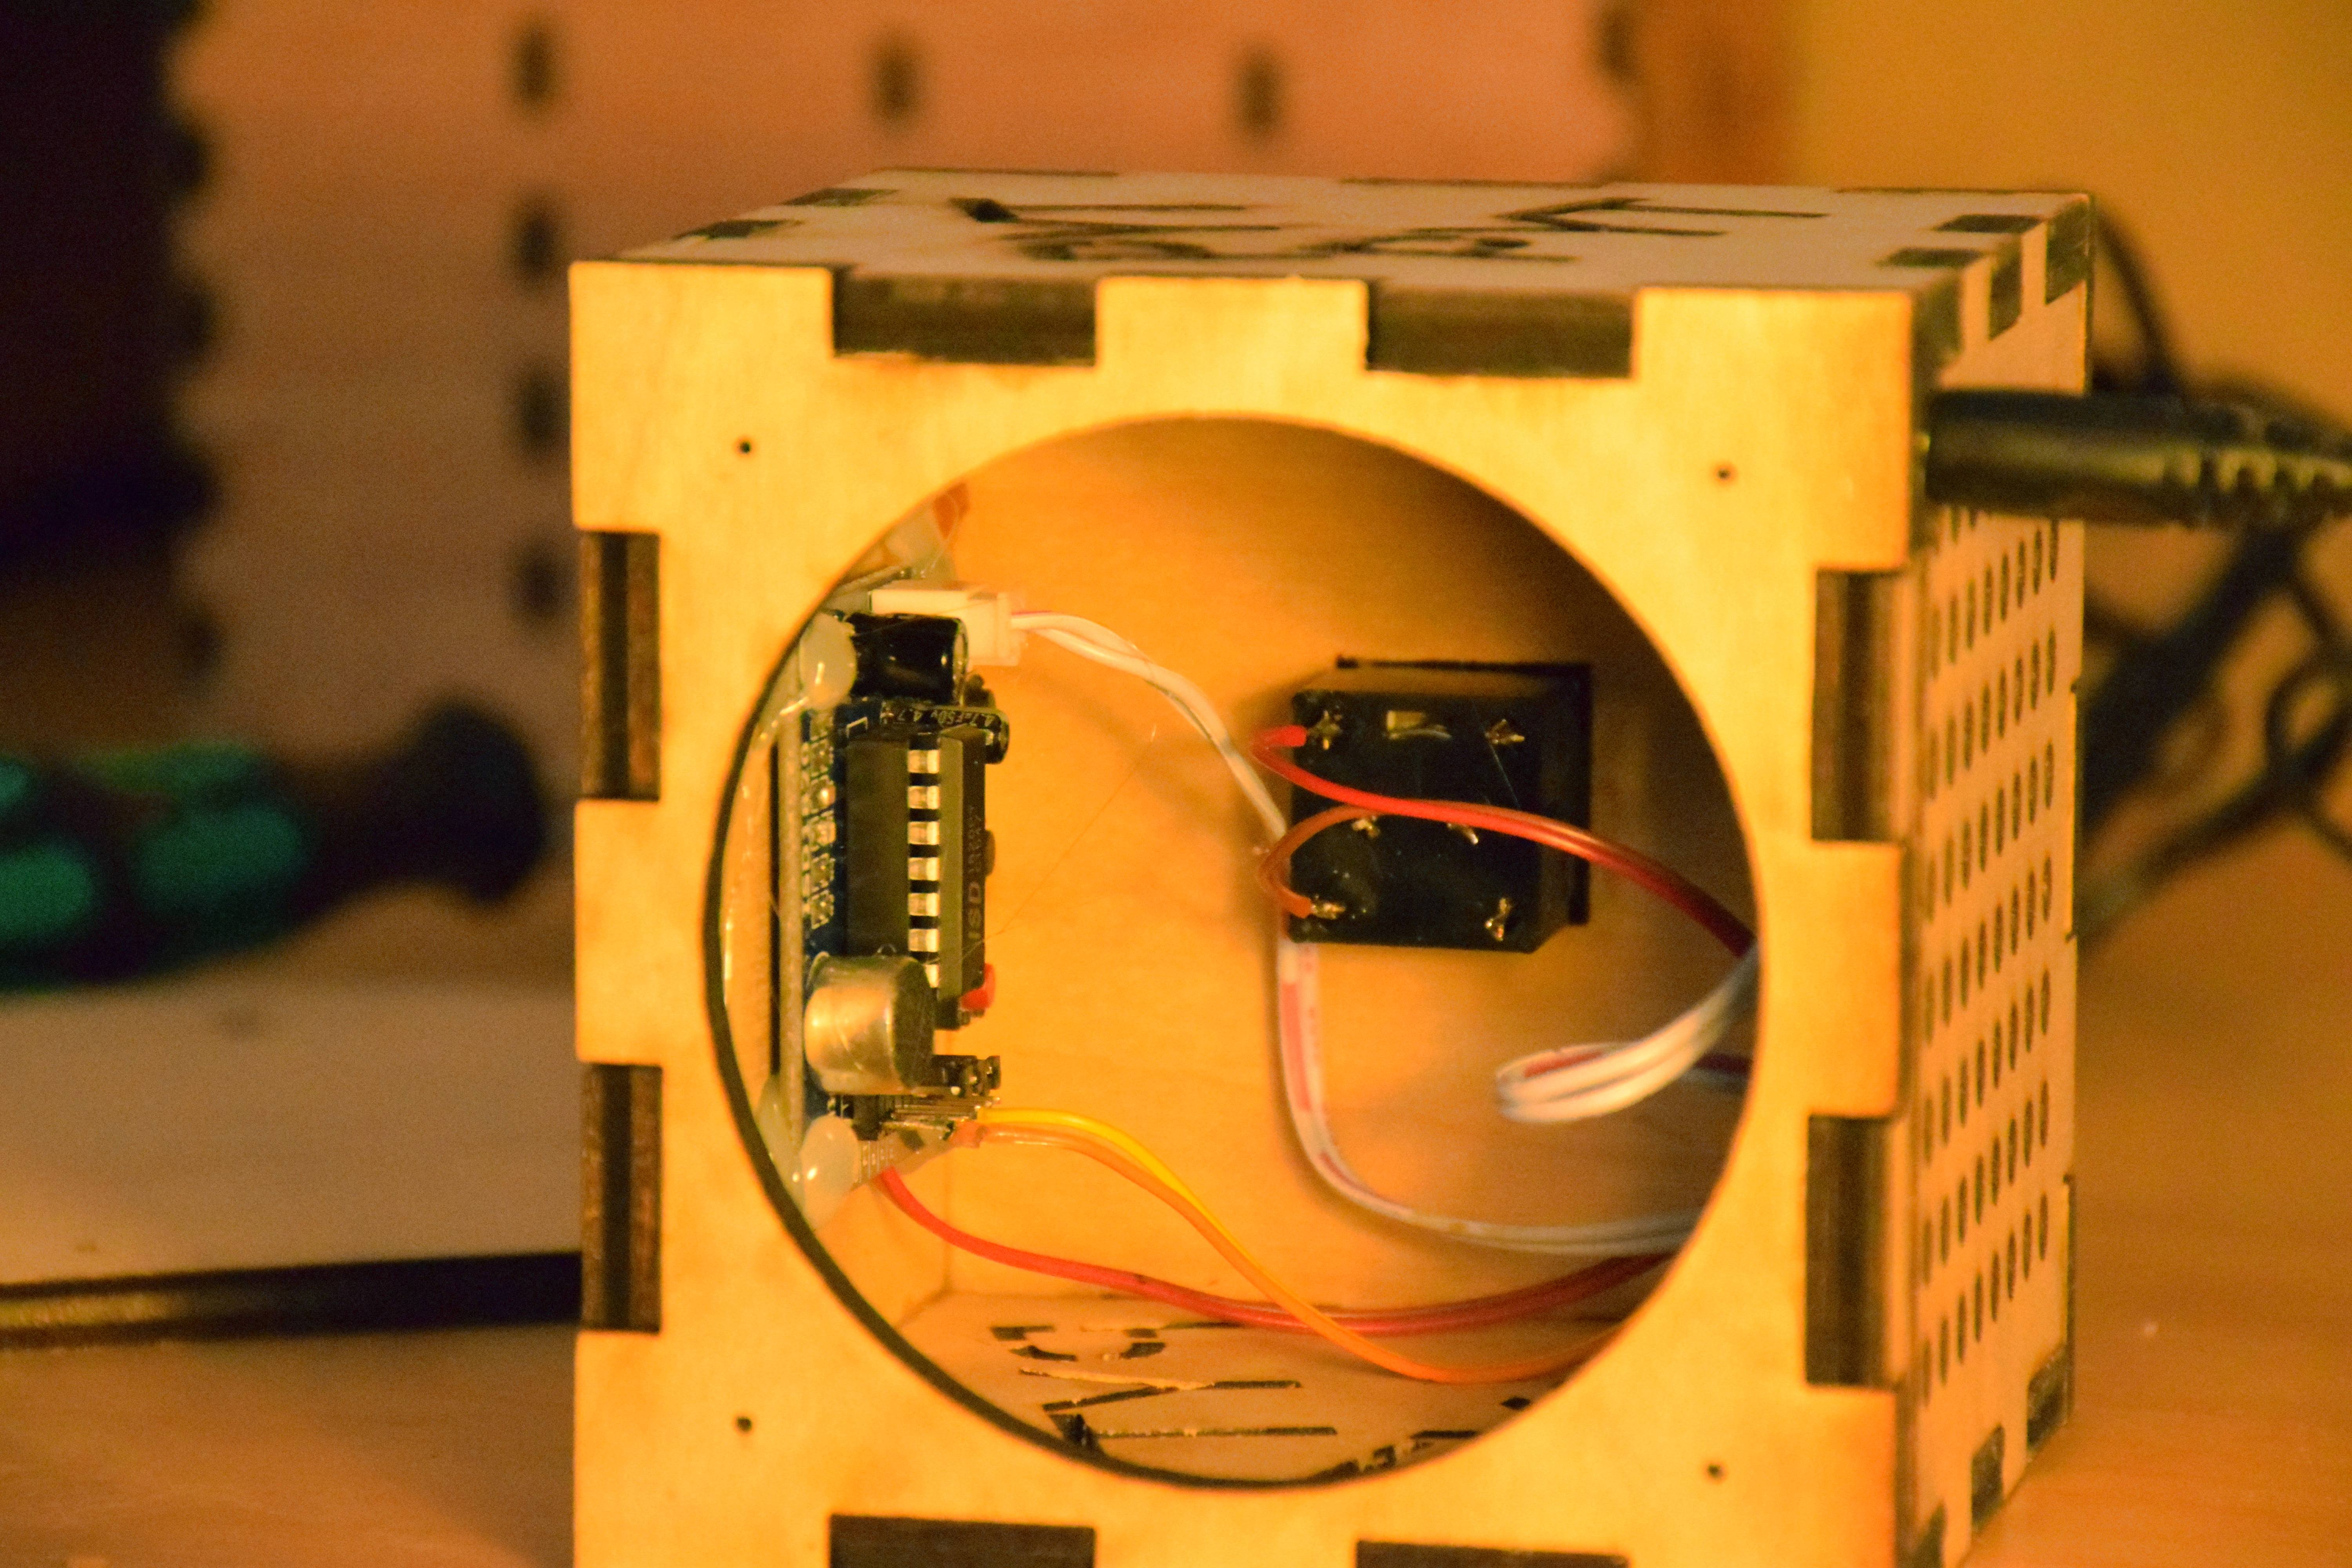
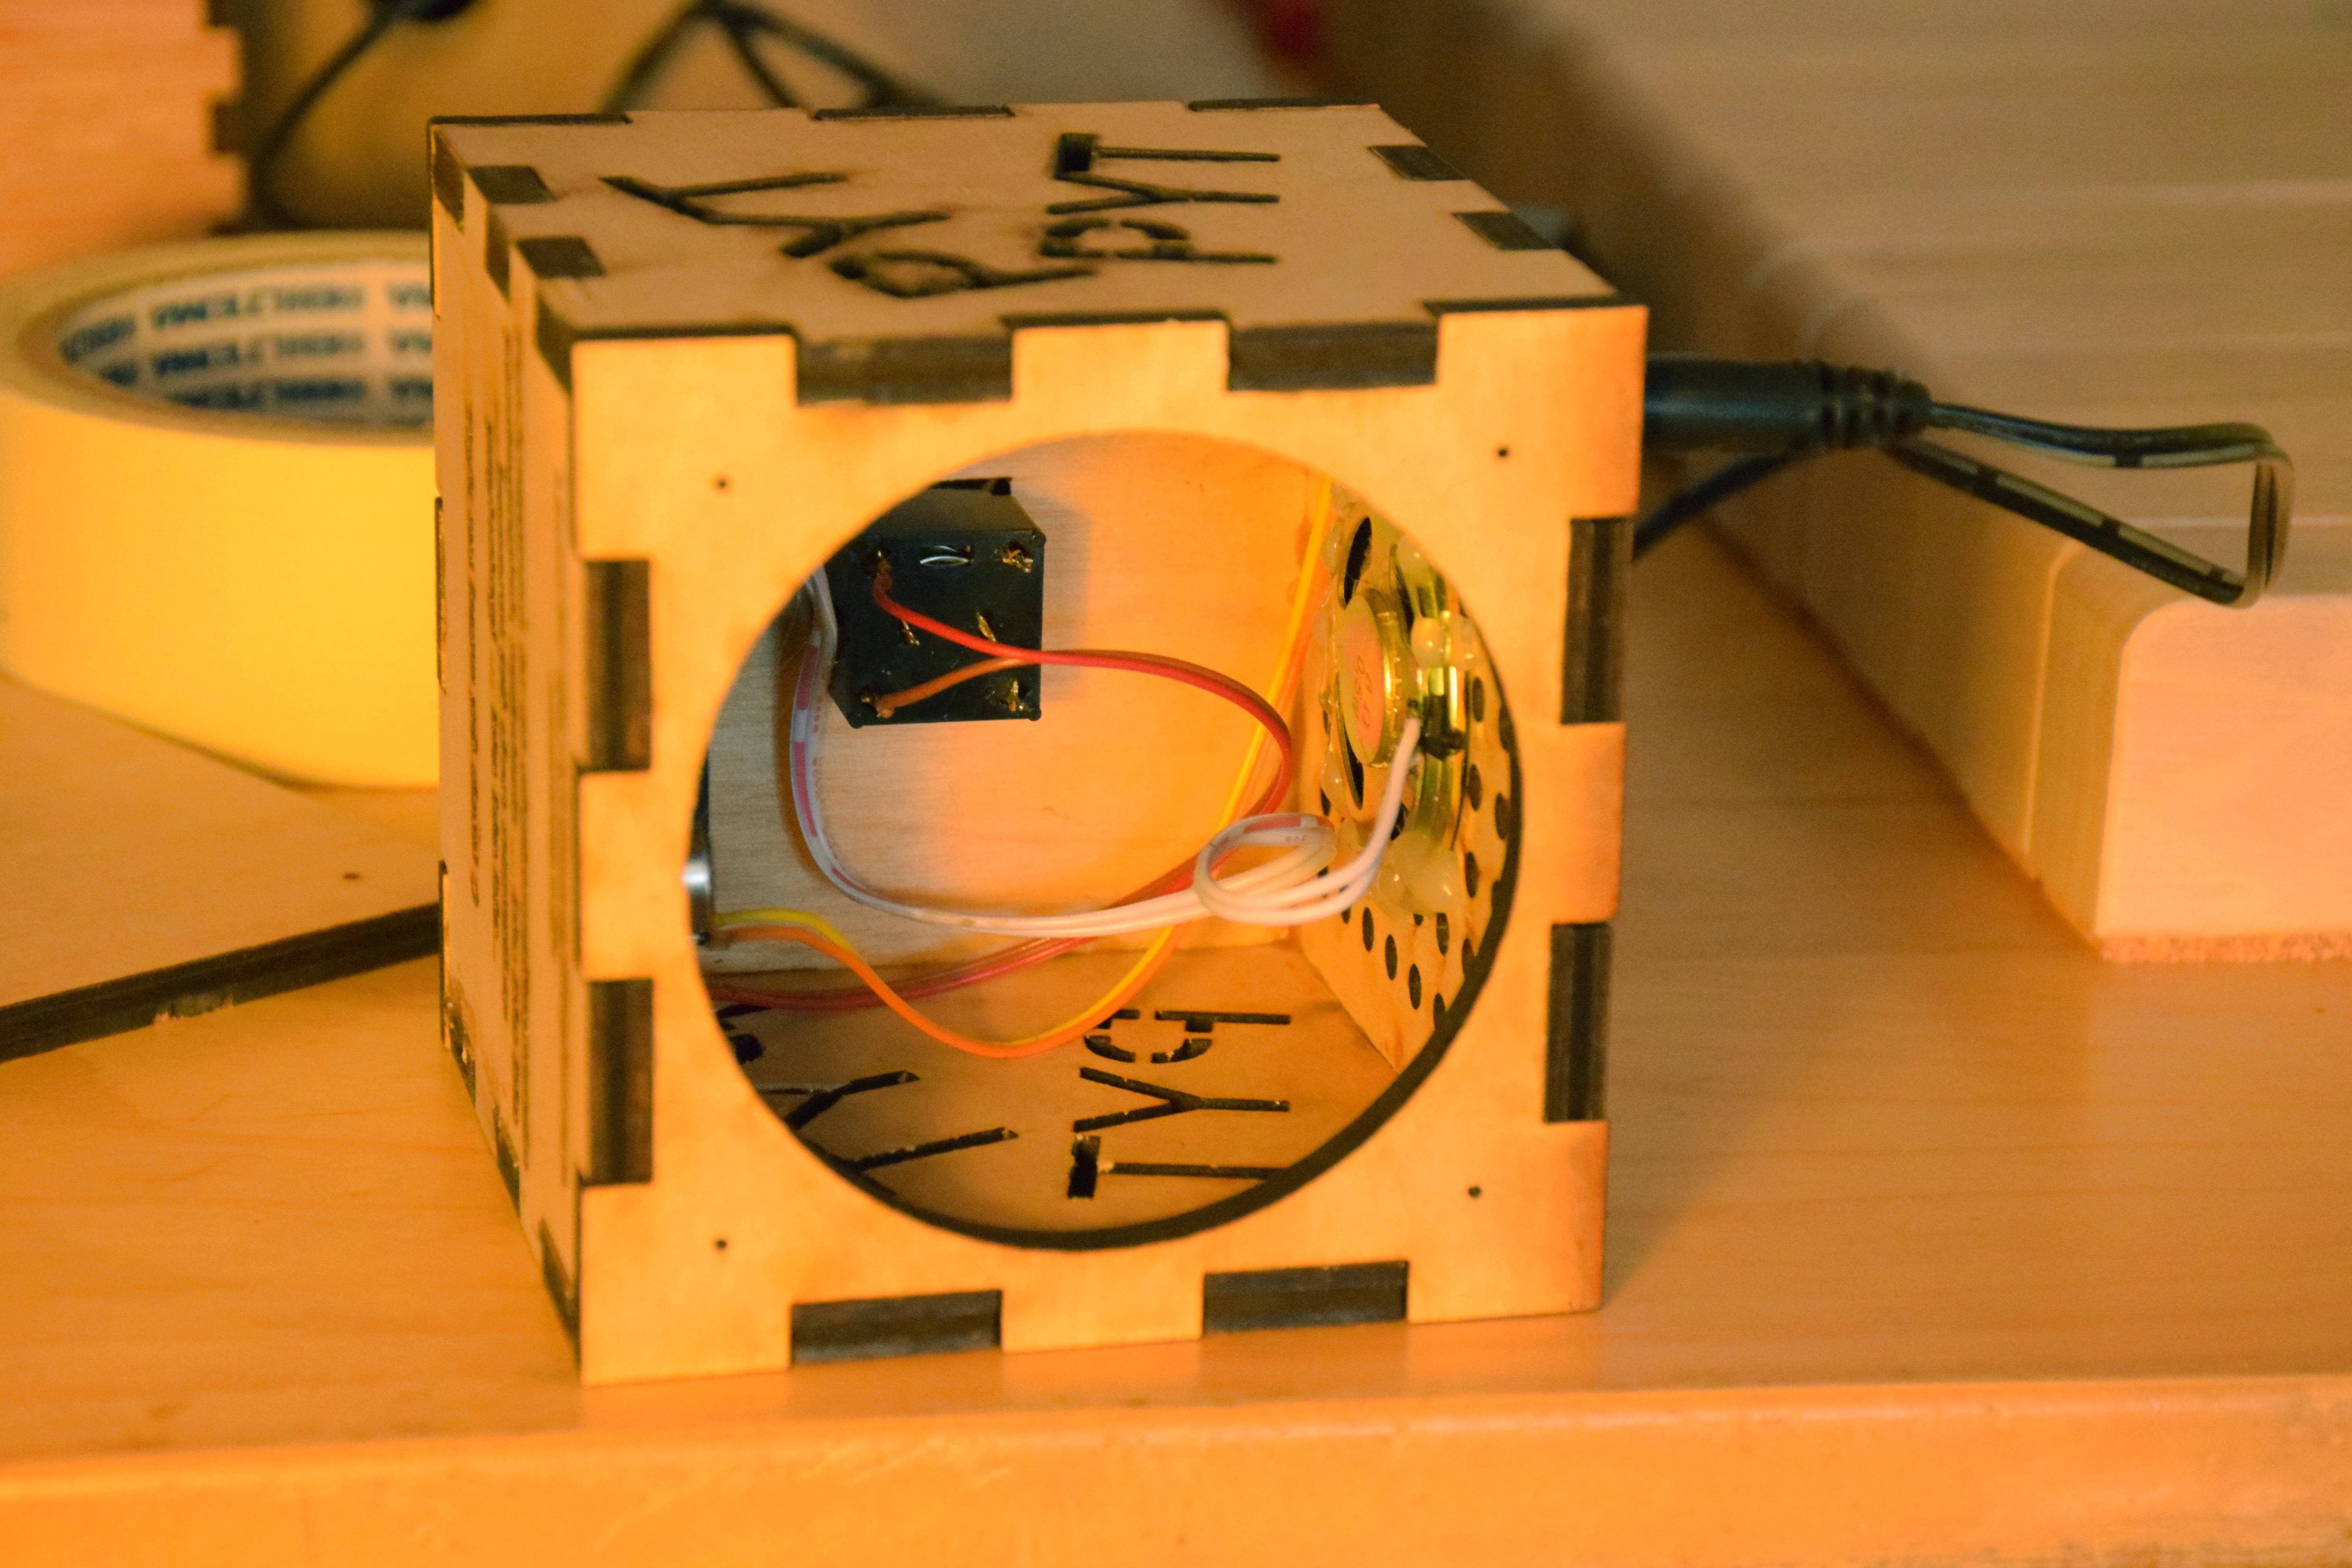
The solution was straight forward: Make a little box with a laser cutter, an isd1820, a button, a dc plug for the case, a lot of hot snot glue and a 5 V power supply. The box is made of 6 mm ply wood and measures 9x9x9 cm. The hole on the back is covered by the back plate where the screw in the wall is screwed in. To finish it all up I gave it two layers of varnish. If you want to build one your self, the OpenSCAD file is available here and an SVG (the green color should only be engraved) is available here (the green color in the SVG should only be engraved).
If I later on get a picture or a small video clip of the button in use in the kindergarten, I will update this post.
Hal9k er Aalborgs hackerspace. Et åbent højteknologisk værksted, hvor man kan lave (næsten) alt. Udover en masse forskellige værksteder, oser Hal9k af viden, kreativitet og varmt socialt fælleskab.
Alle der kommer i vores lokaler risikerer at lære en masse, og ikke mindst få nogle gode oplevelser.
Der er fast klubaften hver torsdag fra kl. 19 til ud på aftenen, hvor alle er velkomne til at kigge forbi!
Privacy & Cookies: This site uses cookies. By continuing to use this website, you agree to their use.
To find out more, including how to control cookies, see here:
Cookie Policy


21 mar
Kommentarer lukket til Gærkrigen: Kan man smage forskel på gær?